Whenever I see old boxes coming from soaps, shoes, gifts or the like, I often want to keep it in hopes of finding a purpose for it in the near future. I’m guessing most preschool teachers agree with me too! We like to keep all sorts of stuff, especially boxes! Regardless of how small or BIG the box may be, we just want to keep it because we feel throwing it away will make us regret it in the future.
–
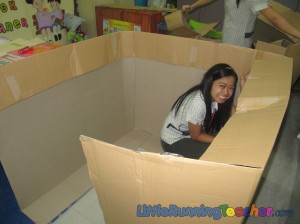
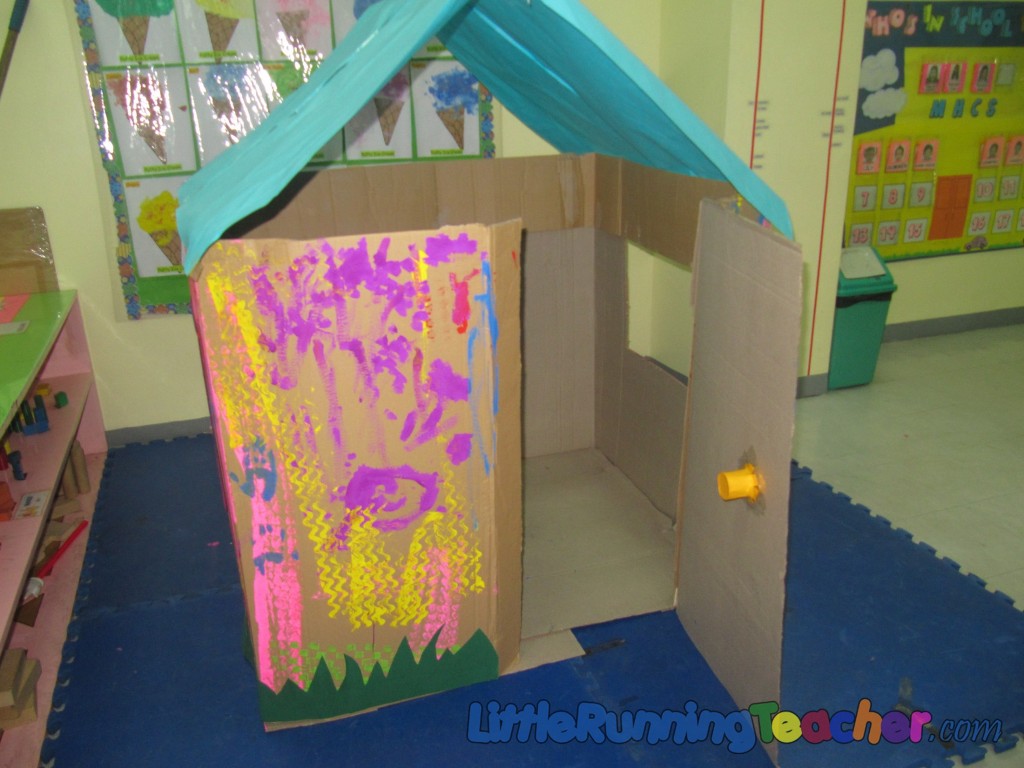
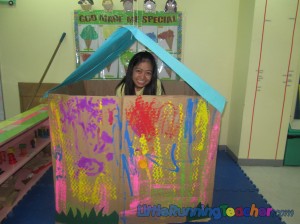
Just a few weeks ago, on our unit on FAMILY, we decided to have the kids make their own playhouse in school! One problem though….. We didn’t have a box big enough! Uh-oh! But the thing with preschool teachers is that we can be super resourceful. What we had in school were several huge boxes from the lockers! They were big but were really thin. My partner then began opening up these boxes and taping them… until FINALLY, she came up with a big square box, big enough for all 8 of our kids.
–
What you will need
- Big box
- Paint
- Roller brushes
- Paint brushes
- Smocks/Aprons
- Tape
- Popsicle sticks
- Cutter
- Cut out flowers/grass and other decorations
- Tissue core
–
What to do:
Step 1: Set up the box. Make sure it is big enough for the kids. If none, u can a few smaller boxes and tape them together, just make sure you tape them together at places that aren’t too evident (That’s what we did)
–
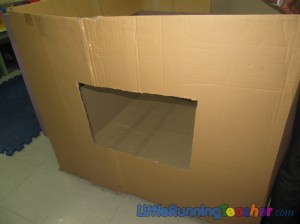
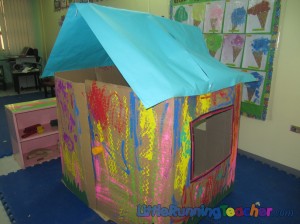
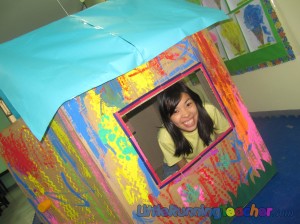
Step 2: Using a cutter, cut out the window and the door. (we later on added popsicle sticks as borders to the window)
–
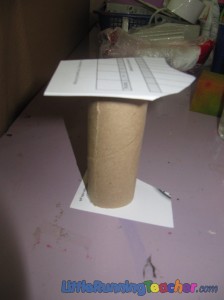
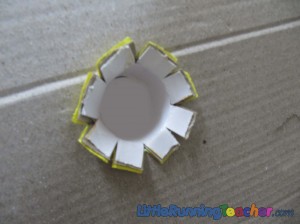
Step 3: For the door knob, we used a tissue core and cut it in half. We then cut a circular hole on the door and inserted it there.
–
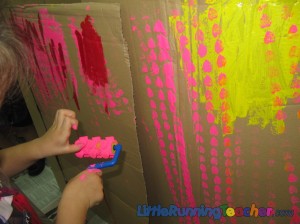
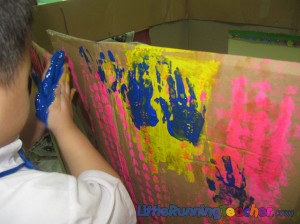
Step 4: Now this is the BEST part. Hand the kids some roller brushes and paint brushes and let them start painting away! Make sure they’re wearing their smocks though, ‘coz this is bound to get messy!
–
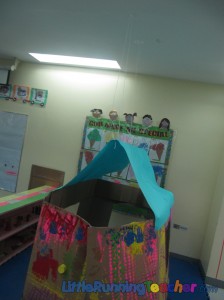
Step 5: After the kids left, we got 4 pieces of cartolina or big paper and measured the house. We folded these papers to form the roof and hung the middle part to the ceiling using nylon thread! It looked BEAUTIFUL! And the kids LOVED IT! For an extra touch, we also added some cut out grass and flowers on the side :)
–
We expected the house to last for a week, but the kids were too excited to play with it that it gave in after just 2 days of playing with it! (haha) We tried to be careful at first but we later on just let them have their fun. It did get broken sooner than expected, but at least they were able to enjoy it to the fullest while it stood.
–
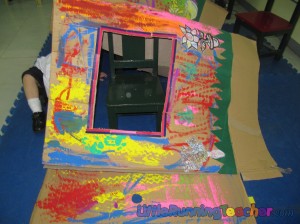
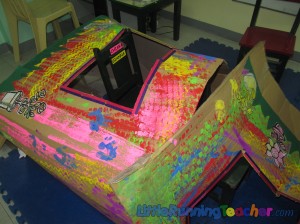
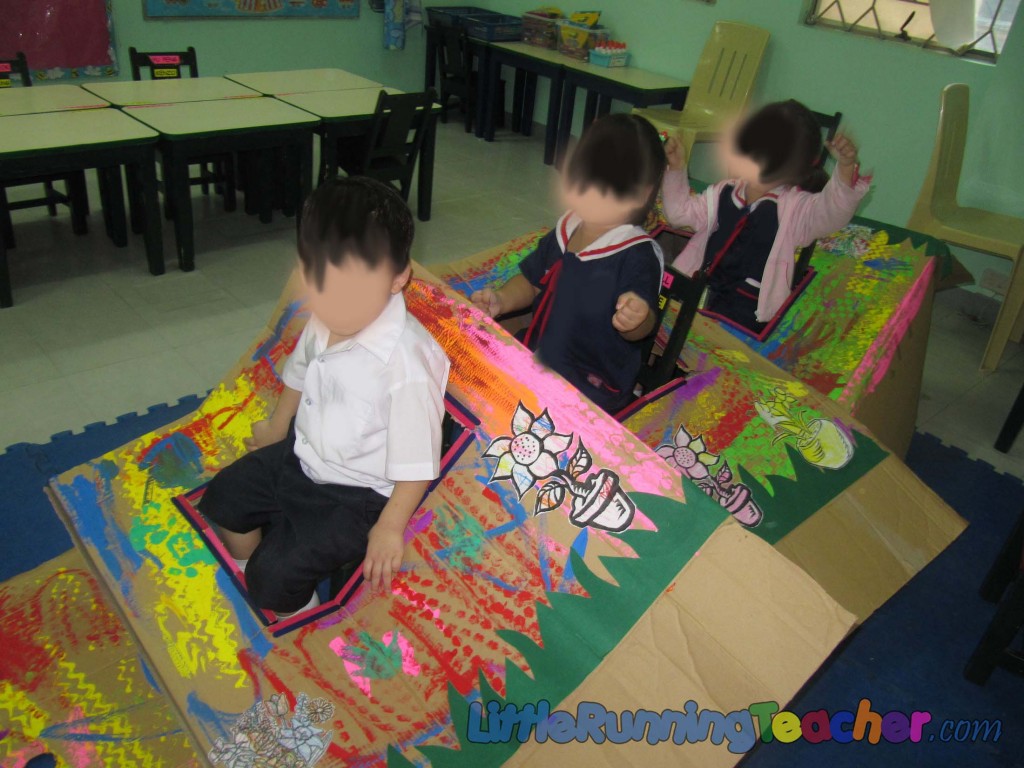
But of course, I took advantage of this “Broken House” and used it to start up even more creative imaginations from the kids. As the house slowly toppled over, we started pretending it to be random objects.
–
“Teacher, it’s not a house anymore, it’s an airplane!” and then after the airplane gave in… “Teacher, I think it’s a boat!” It was so much fun to see how the children’s imagination came alive until there was nothing else left from our cardboard house! At one point, we even got some chairs and inserted them to the windows as the cardboard lay flat on the floor. They then pretended it to be a car or train!
–
Make use of every opportunity and turn them into FUN LEARNING OPPORTUNITIES! :)
–


