There are so many activities that come to mind when you think of FAMILIES, however, we try not to be too redundant else risk our students getting bored.
–
We wondered what activity we could do that would make the children more aware of the number of people in their families, as well as recognize the roles each one plays. We thought of several ideas, but none which really made us say, “This is it!”… until…
–
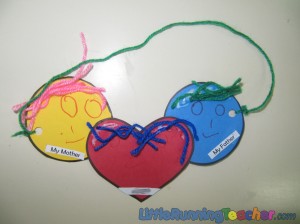
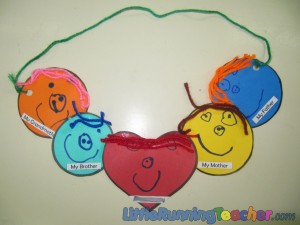
My co-teacher told me about an activity they did last year. They made a necklace using round smiley faces. The number of smiley faces per necklace would represent the number of people in the child’s family. We almost brushed off the idea until we realized a way to make it better! How? By making it a little more personal of course!
–
What you will need:
- Colored Paper/ Construction Paper
- Glue
- Yarn
- Marker/ Pentel Pen
- Puncher
–
Teacher’s Preparation:
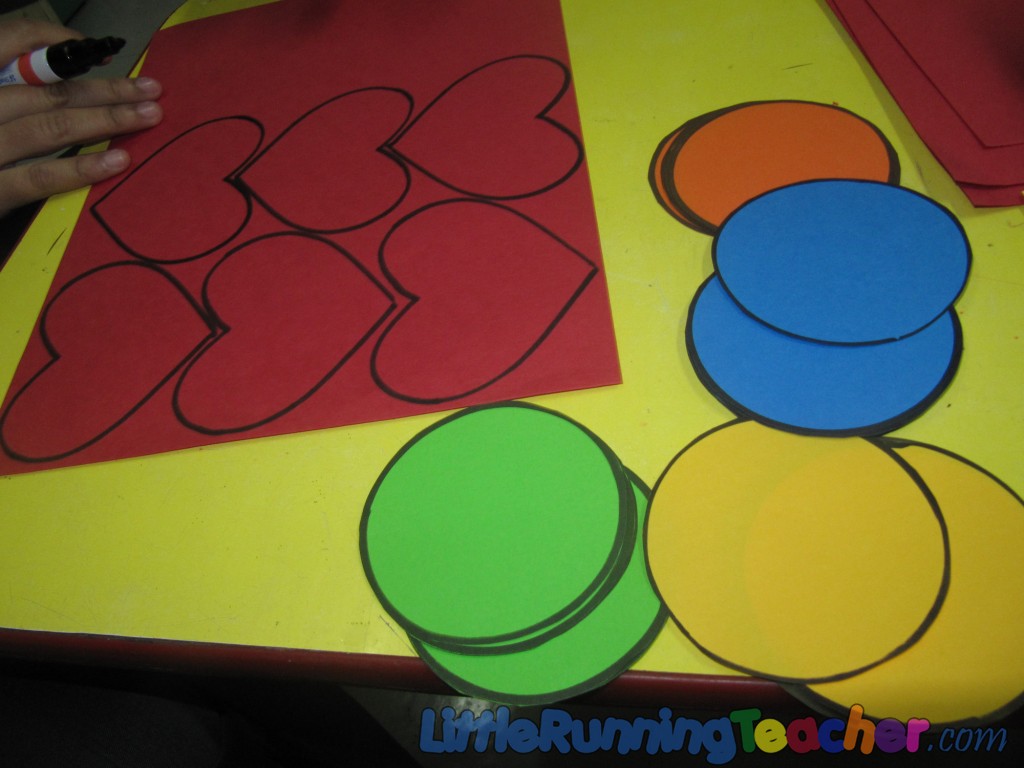
- Assign a color for each member of the family (e.g. Blue for Daddy, Yellow for Mommy, etc.)
- Cut out circles for each member. Make the sizes vary such that mommy and daddy are slightly bigger than brother and sister.
- Cut out a heart shape to represent the child
- Cut some yarn to be used as hair. Cut longer ones for the female and shorter ones for the male
- Cut more yarn to be used for the necklace
- Make sure you are aware of the number of people in the child’s family. We used our family tree making activity as our basis.
–
Kid’s Turn
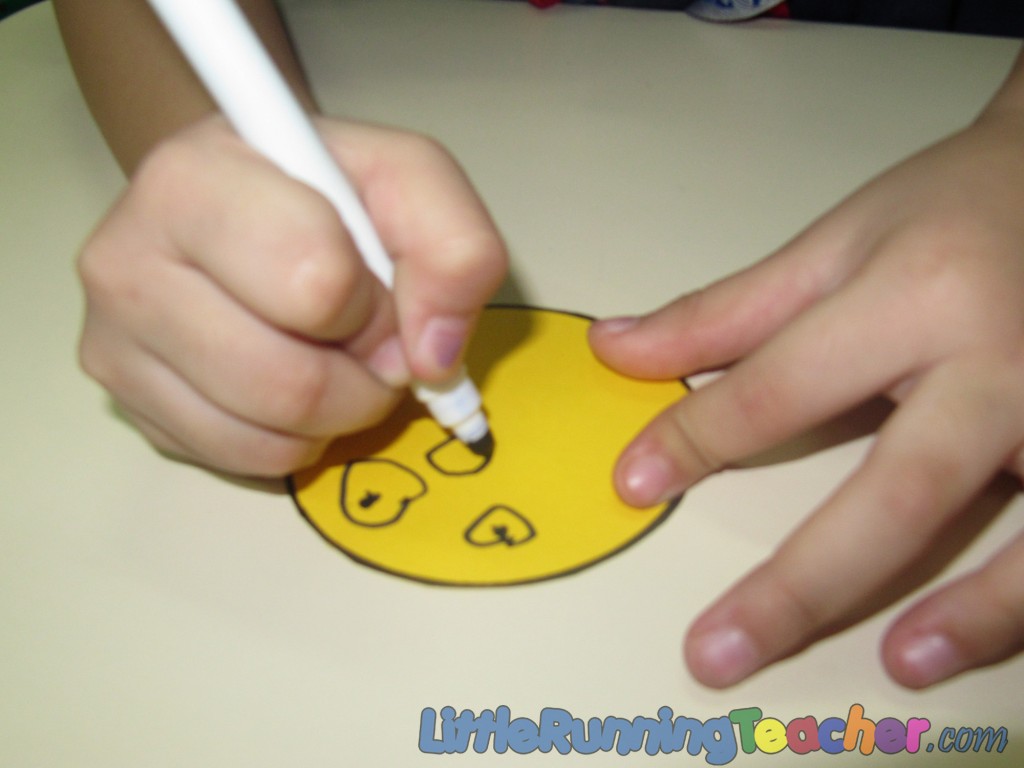
Step 1: Each child receives a number of circles to represent each member of his family. Draw faces for the members! (“My brother has eyeglass! Daddy has a mustache!”)
We did this one family member at a time.
–
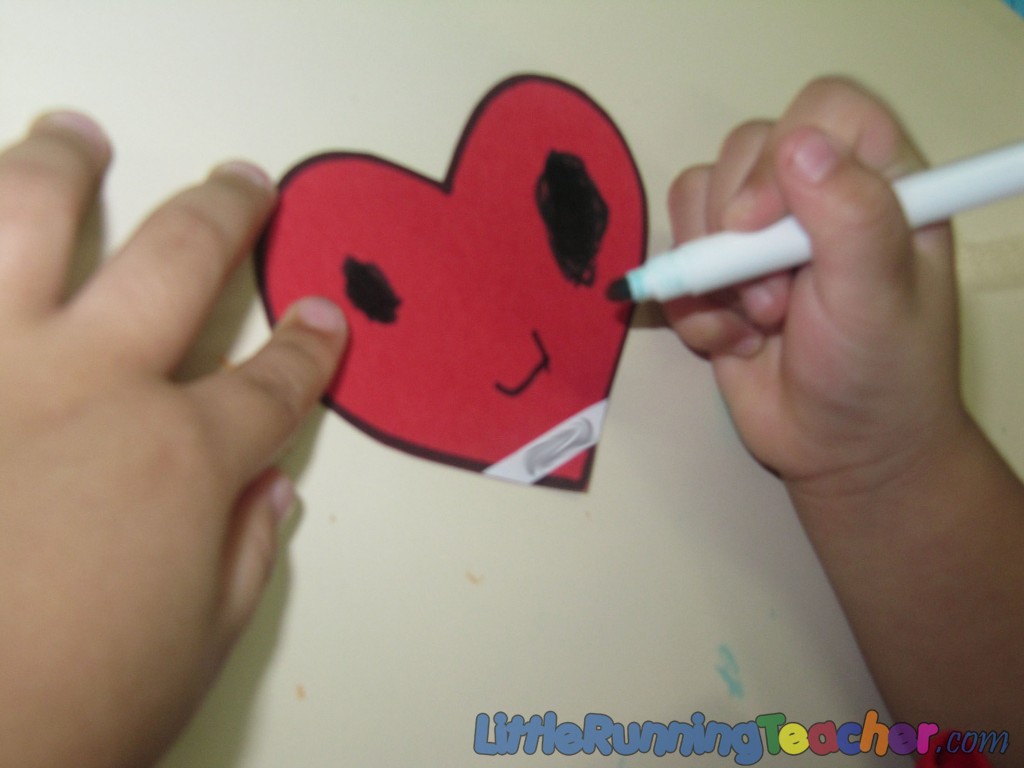
Step 2: Each child draws his/her own face on the heart
–
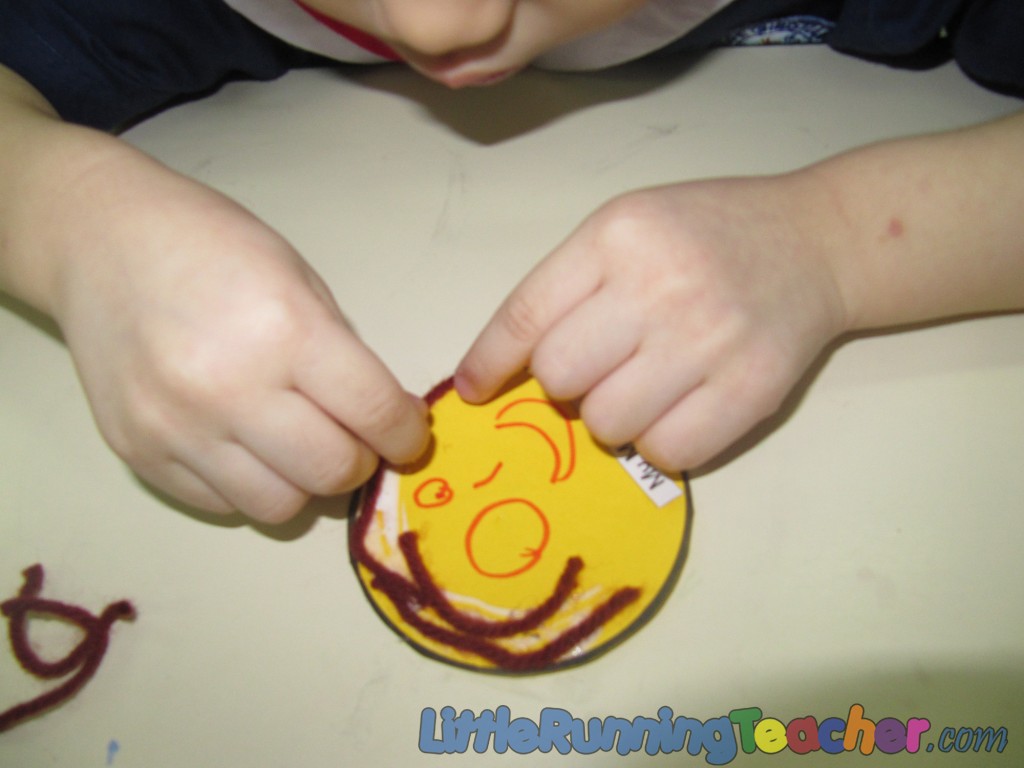
Step 3: After drawing the face of each member, take some yarn to glue unto the circles as hair. Pick any color you want! (“Daddy’s hair is blue, and mommy’s is pink!)
–
Step 4: (Teacher’s assist) Arrange the circles side by side and punch a hole on the last 2 circles of each side (we put the child in the center and the parent or grandparent at the end)
–
Step 5: (Teacher’s assist) Glue the circles side by side and insert the yarn on the hole you made earlier
–
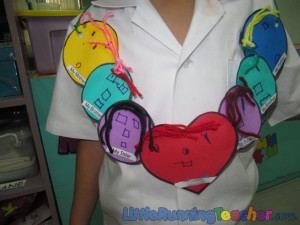
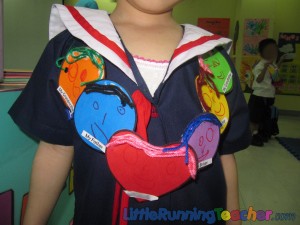
Step 6: Wear your family bib necklaces! Stand tall and be proud of your family
–
*Other ways to make it:
Instead of drawing the faces, you could also use actual photos of these members. We just figured it looked more “kiddie” this way!


