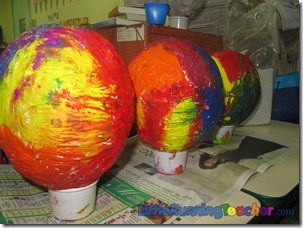
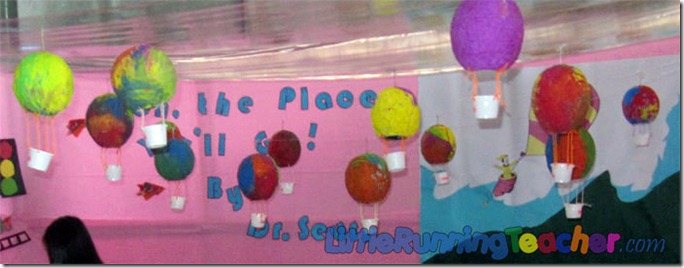
I love playing with paper-mache! The activities and the outcomes that can be done with them are countless! During our lesson on different kinds of transportation, we made some HOT AIR BALLOONS!
It was fun to see the different reactions from the kids! Some of them were really excited, while others like myself got weak on their knees at the thought of riding a balloon several hundred feet above the ground!
What you will need:
- Balloon
- Tissue Paper
- Newspaper
- Glue/Water (PVA glue)
- 2 Paintbrushes
- Paint
- Small plastic cup
- Yarn
- One-hole puncher
What you will do:
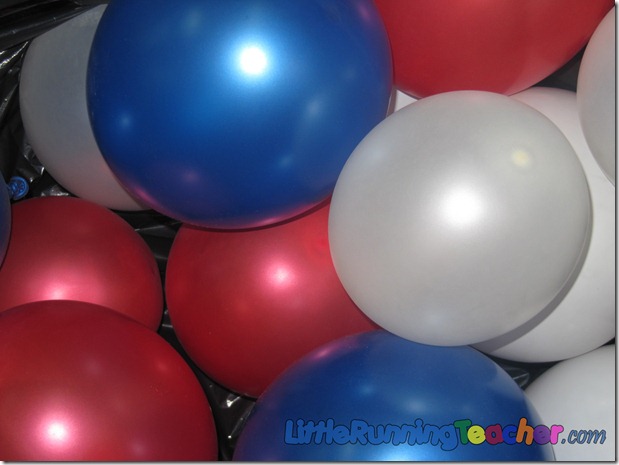
Step 1: Before handing the kids the balloons, blow some air into it first! You can even play a quick game with these blown up balloon before proceeding with the activity
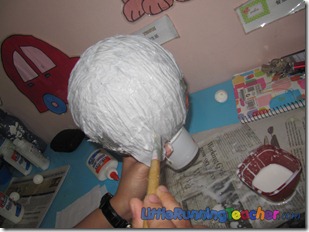
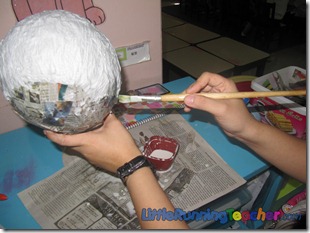
Step 2: After that quick game, hand the kids some PVA glue (3 parts glue, 1 part water mixture) and a paintbrush and allow them to paint the balloon with it.
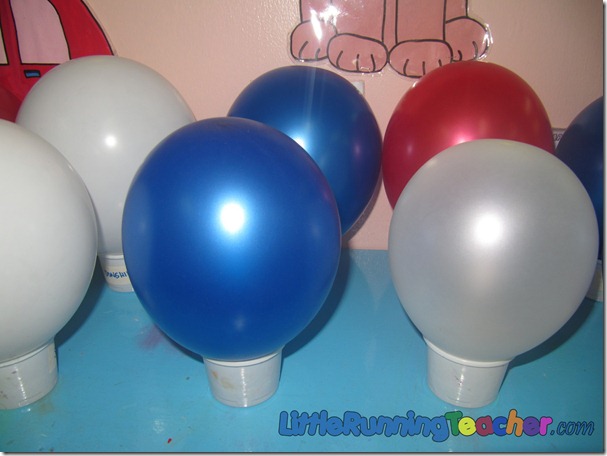
We placed the balloon on the plastic cup so it doesn’t keep rolling over. Moreover, it was also to keep the kids from covering the entire balloon.
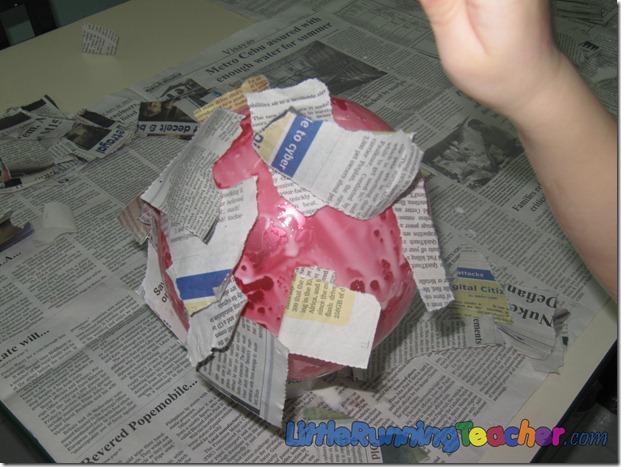
Step 3: Then give them strips of newspaper to put over the this. Several of our students were able to do it but there were also several who had a difficult time or eventually got bored, so just feel free to help them out.
Step 4: Put another layer of glue over the newspaper. (We mostly did this part ‘coz the kids had a hard time since the newspaper kept sticking to the brush)
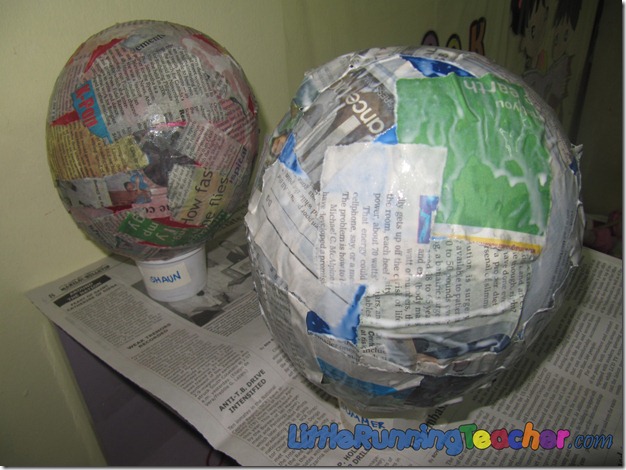
Step 5: Put strips of tissue paper over the newspaper
Step 6: Wait for it to dry (might take a day or two)
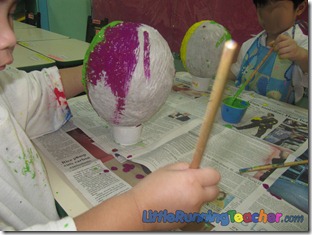
Step 7: Have the kids paint over it
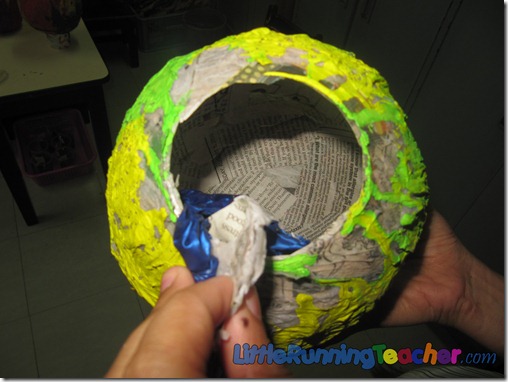
Step 8: POP the balloon! (My favorite part) and remove it using the bottom part of the balloon (the part without the newspaper and tissue
Step 9: Punch some holes on the plastic cup and the bottom of the balloon and use a piece of yarn to string them together!
Step 10: Hang them up and enjoy the wonderful display!


